First, separate focal length from perspective
Focal length determines how much of a scene a lens includes from a given camera position. A shorter focal length gives a wider view; a longer one gives a narrower view. Perspective is different: it describes how near and distant parts of a scene appear in relation to one another. Camera position, especially distance from the subject, determines that relationship.
This distinction matters because photographers often change position when they change lenses. To keep a face the same size in the frame, you move closer with a wider lens and farther away with a longer lens. Up close, the nose is noticeably nearer the camera than the ears, so it appears larger relative to them. From farther back, that difference in distance matters less, and facial features look more even. The lens did not reshape the face on its own; the change in camera distance did.
Try photographing a subject from one fixed spot with two focal lengths, then crop the wider image to match the tighter one. The visible area and detail will differ, but the relative sizes of objects in the scene will remain much the same. Repeat the test while moving the camera to keep the subject the same size, and the perspective difference becomes clear.
Choosing a viewpoint for portraits
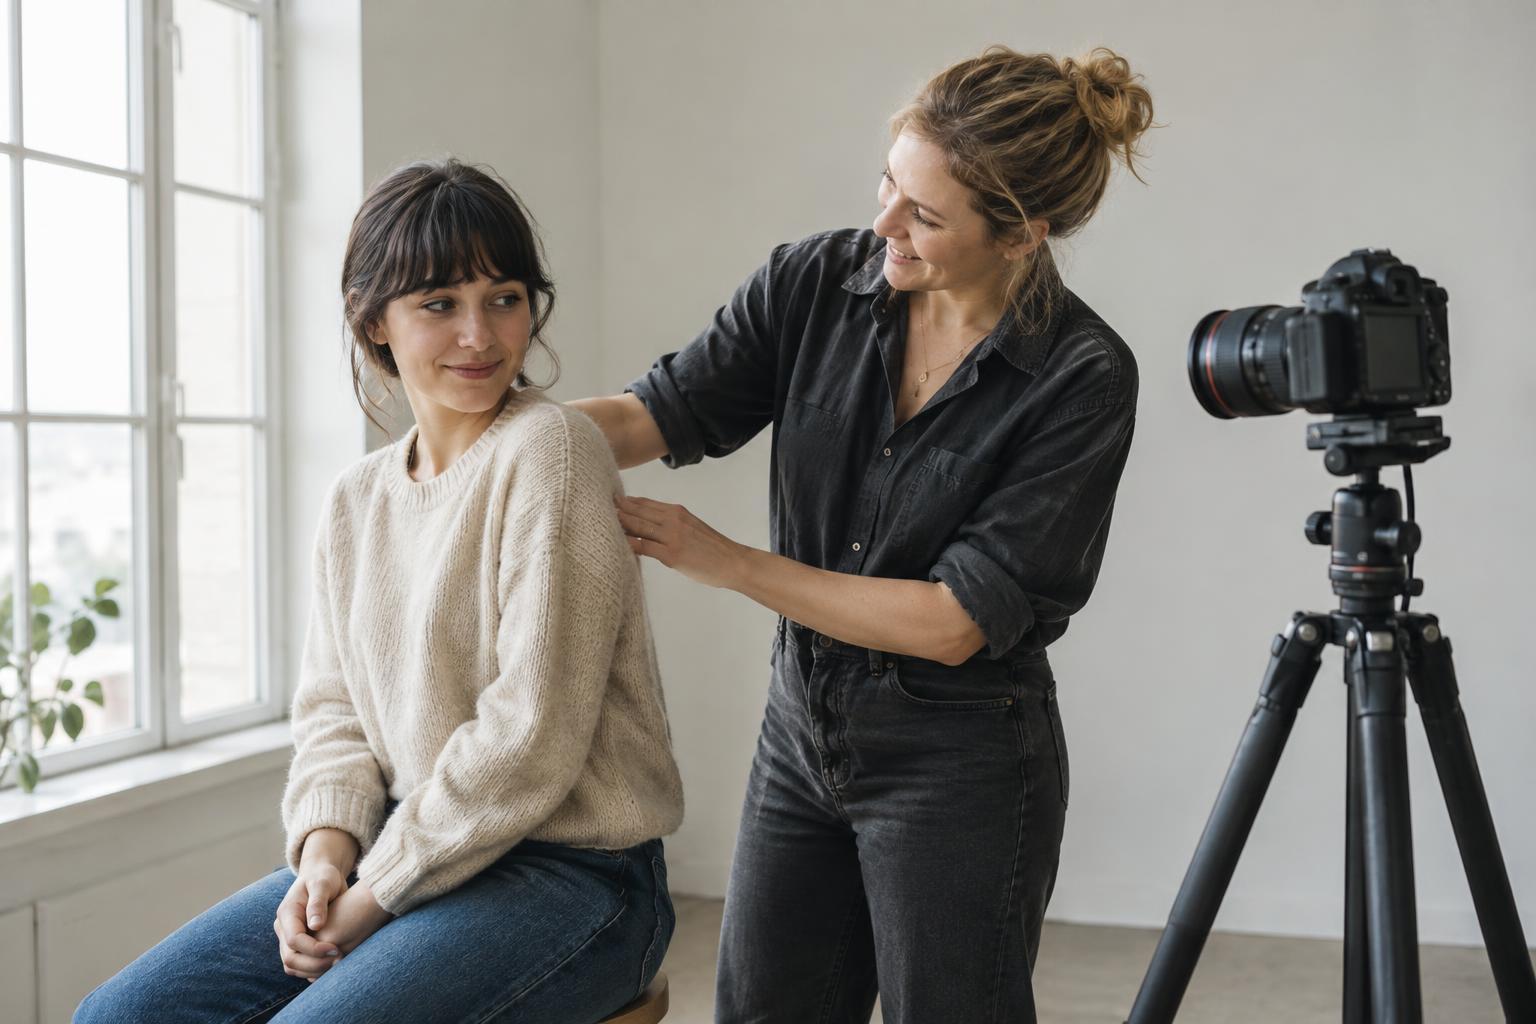
A wide view can work well for an environmental portrait: it lets you show a person alongside their studio, tools or surroundings. Give yourself enough distance that features close to the camera do not dominate unintentionally. If you photograph someone at arm’s length with a wide lens, a hand reaching forward may look much larger than the face. That can be expressive when deliberate, but distracting in a straightforward portrait.
A narrower view usually encourages you to step back for the same head-and-shoulders framing. This can make facial proportions feel more balanced and bring a smaller slice of the background into the picture. Distant background features may appear larger relative to the subject than they would from a closer camera position. Check what sits behind the head and shoulders: a sign, bright window or strong line can still compete with the person even when less of the room is visible.
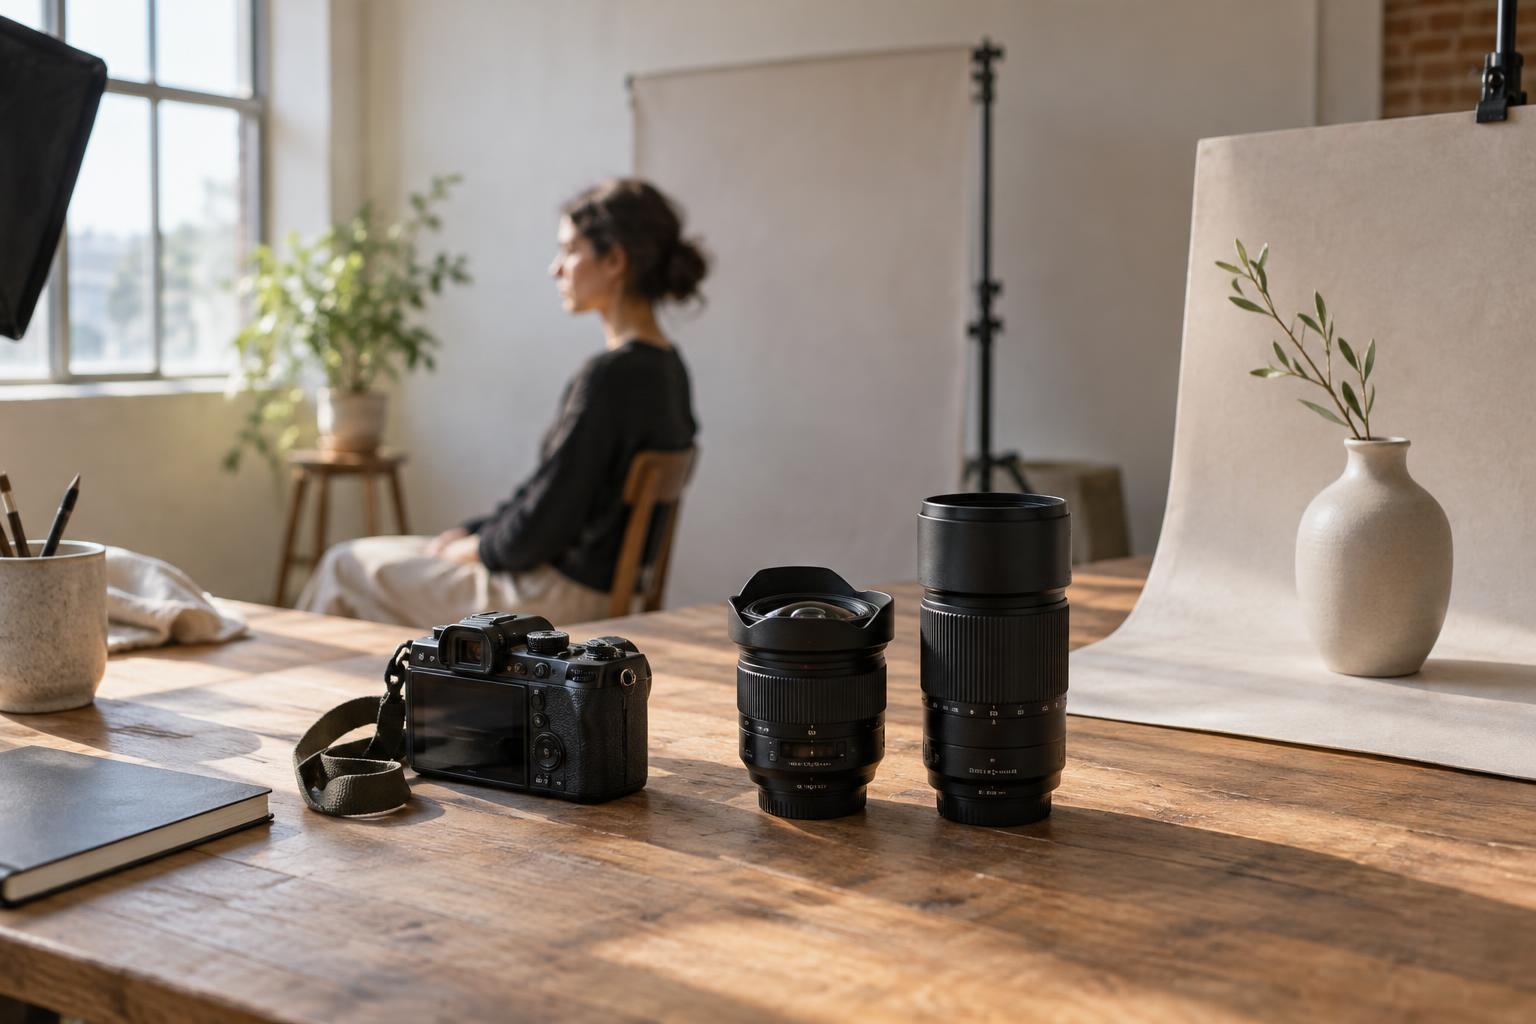
There is no single correct portrait focal length. Choose your camera position for the proportions and level of intimacy you want, then select a focal length that gives you useful framing from that spot. If space is limited, a wider view may be necessary; keep the person away from the frame edges if the lens or software correction makes those areas look stretched.
Showing product shape without surprises
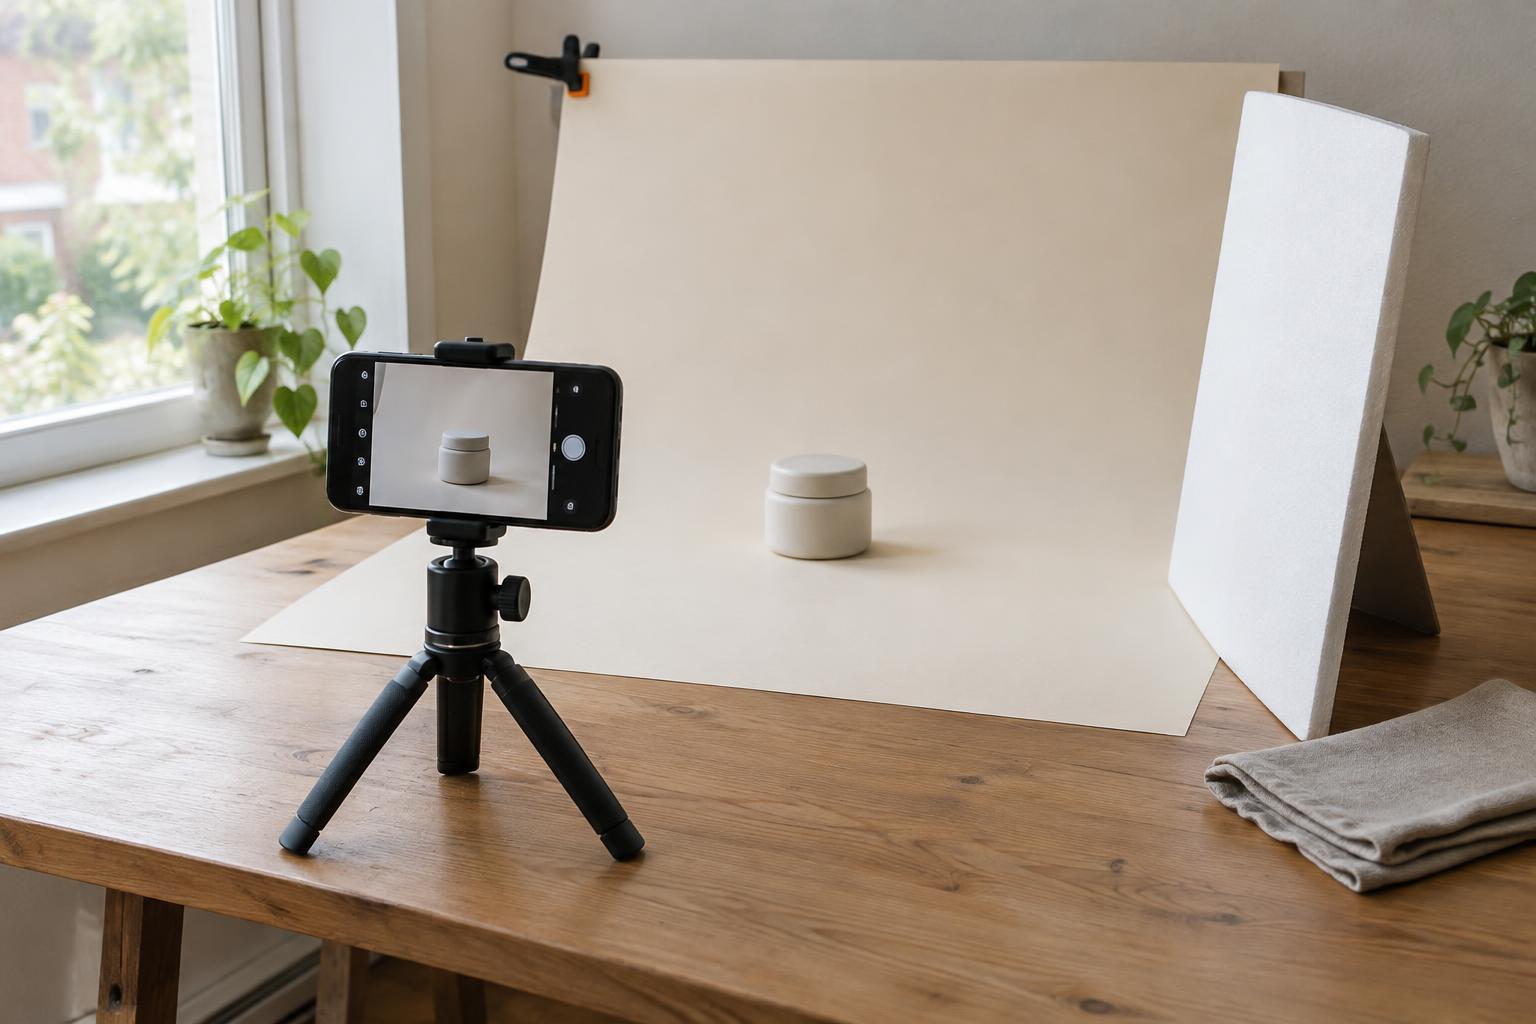
Product photographs often need to explain an object’s shape as well as make it appealing. A camera placed very close to a product can exaggerate the part nearest the lens. A mug’s rim may seem unusually large compared with its base; the front corner of a box may overpower its back. Moving farther away and using a longer focal length to restore the framing can produce a calmer, more representative view.
That does not mean every product needs a distant viewpoint. A close, wide composition can emphasise texture, packaging details or the experience of using an object. The important question is whether the proportions support the message. For a catalogue-style image, compare the photograph with the object in your hands and look for features that seem unexpectedly enlarged or diminished.
Keep the camera level when straight edges matter, and watch for another kind of distortion: some lenses bend lines near the edges of the frame. This optical effect is separate from perspective. If a rectangular package appears bowed, try keeping it nearer the centre, checking your lens corrections or using a different lens. Leave room around the product so a later crop does not cut into its outline.
Run a simple comparison before the final shoot
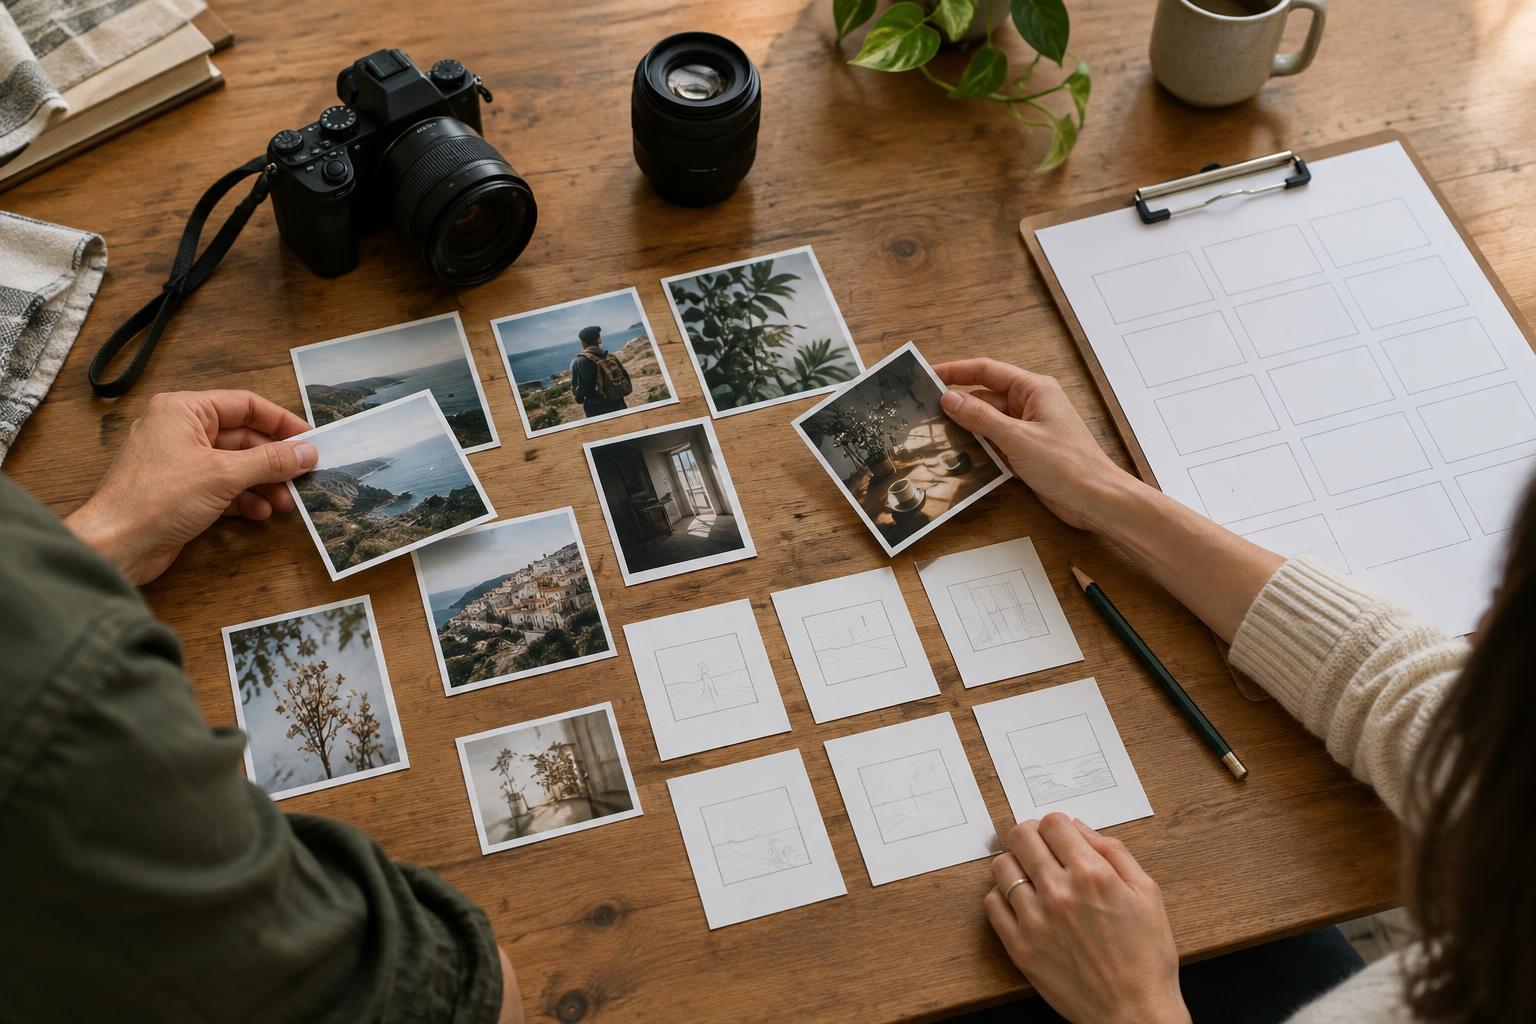
Set up one portrait or product against a background with a few visible details. First, keep the camera in one place and make a wide and a tight image. Next, change camera position so the subject fills roughly the same amount of each frame. Compare the size of near and far features, the amount of background shown, and how prominent the background appears. Write down which camera position gives the proportions you prefer.
Finally, consider the working conditions. A longer focal length may require more room behind the camera, while a wider one may include clutter you need to move. Background softness also depends on aperture, focus distance and the spacing between subject and background, not focal length alone. Treat focal length as one part of a repeatable setup: decide where to stand, check the subject’s shape, inspect the background, and only then settle on the framing.