Decide what the viewer needs to understand
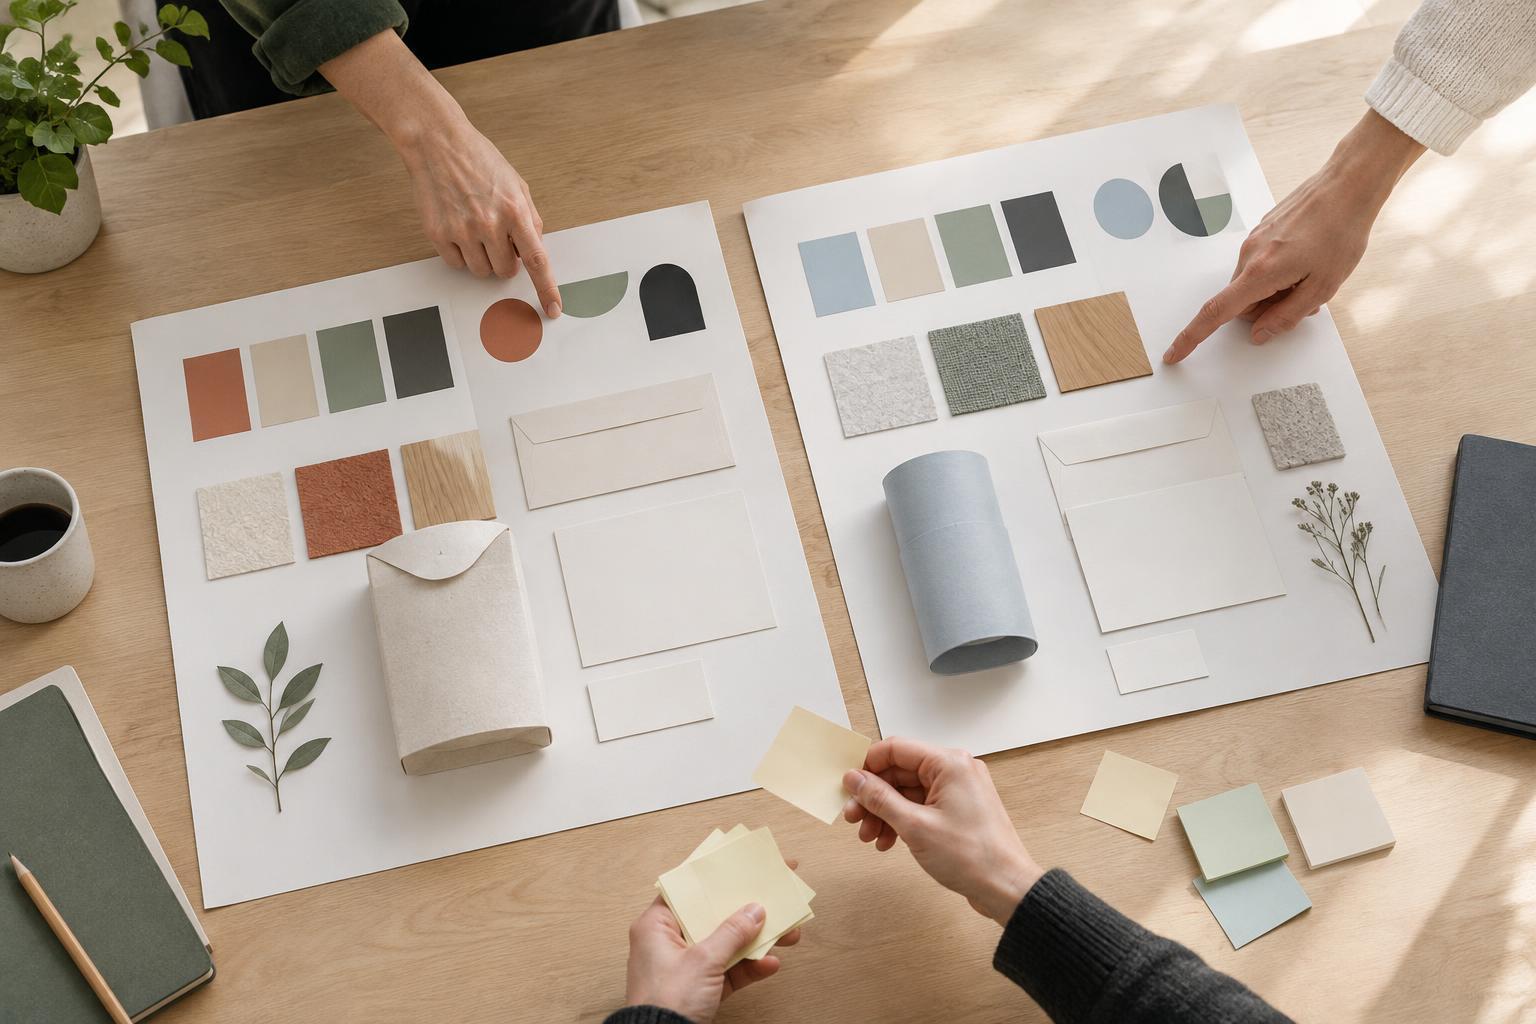
A hands-on activity can be surprisingly difficult to explain in photographs. A close-up of busy hands may look engaging but leave viewers unsure what is being made. A polished final image shows the outcome but not the work behind it. Before picking up the camera, write one plain sentence describing the activity: “Participants turn paper shapes into a shared wall display,” for example. That sentence gives you a simple test for each photograph: does it help explain the people, materials, action or result?
Think about where the images will be used. A website introduction may need one photograph that makes sense on its own. A project page can accommodate several images in sequence. A short social post may need a clear opening image and just a few supporting details. You do not need separate shoots for each use, but knowing the likely formats helps you avoid returning with ten similar close-ups and no image that establishes the scene.
Build a small set of visual questions
Instead of trying to photograph everything, plan answers to five questions: Where is this happening? What materials are involved? What are people doing? What changes during the activity? What does the result look like? These are prompts, not a rigid shot list. For a printmaking session, you might photograph the prepared table, ink being rolled onto a surface, a sheet being lifted, a small group comparing prints and several finished pieces together.
If you are looking for themes for a family-focused activity, browse Growing Together Journal and turn any relevant idea into your own visual questions. For a project built around play or learning, Play and Learning · Growing Together Journal may offer another starting point for thinking about which actions are worth showing. Use those browsing prompts to clarify your brief, not to replace the particular story unfolding in front of you.
Photograph actions from wide to close
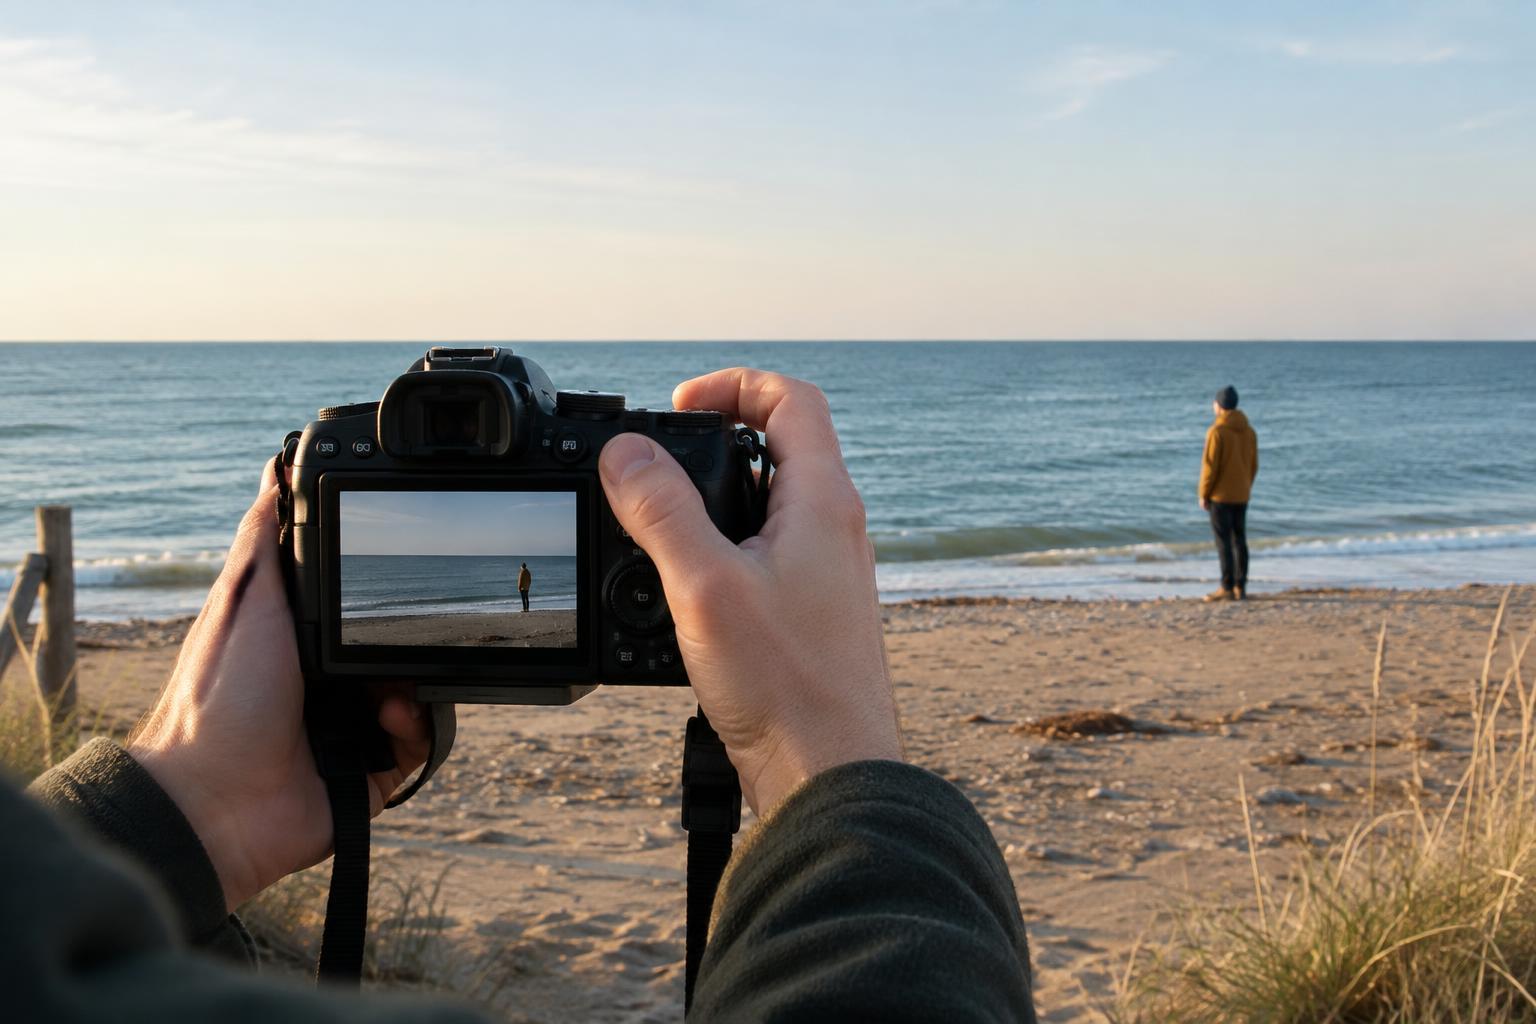
For each important action, try three distances. Start wide enough to show a person and their surroundings. Move closer to show how their hands interact with the materials. Then capture a detail that reveals texture, movement or a meaningful change. You may not use all three images, but the range gives you options when you assemble the story. It also makes a detail more useful: viewers can connect it to a place and an action they have already seen.
Watch for moments that show cause and effect. A photograph of someone holding a brush is less informative than one showing the brush meeting a surface. If an activity changes quickly, anticipate the next step rather than waiting to notice it through the camera. Leave enough space around the main action for a later crop, especially when photographs might need different page shapes. Check the edges of the frame for stray objects that distract from the work.
Make room for people without interrupting them
An activity photograph often works best when participants are concentrating on something real. Introduce yourself, explain where you will be working and then give people room to continue. Rather than asking someone to repeat an entire action, you can often wait for a similar moment to happen again. If you need a clearer view, a small change in your own position may be less disruptive than rearranging the table or directing everyone’s hands.
You can also show participation without making every image a portrait. A pair of hands passing materials, several people working at the same table or a facilitator demonstrating a step can convey collaboration. Be attentive to anyone who does not wish to be photographed, and follow the project’s agreed approach to permissions and image use. Those boundaries are easier to respect when you know them before the activity begins.
Edit for clarity, not just visual appeal
After the activity, place likely selections in a simple sequence: setting, materials, action, interaction and result. Remove near-duplicates and look for gaps. If the sequence jumps from untouched supplies to a finished object, an imperfect but clear process image may be more valuable than another beautiful detail. Keep a strong standalone image as well, since it may be needed to introduce the project without the rest of the set.
Finally, show the selection to someone who was not there. Ask what they think participants did and which image helped them understand it. If the answer is unclear, adjust the order or add a short caption rather than expecting photographs to explain every step alone. The aim is not to document every minute. It is to give viewers enough visual information to follow the activity and appreciate the work.